
BLOG CATEGORY
Outdoor Living
Click on a title to read the full-story.
Take Your Home To New Heights With Outdoor Lights
You’ve put in a lot of work on the interior of your home, but don’t underestimate the impact your house’s exterior can have. With the flip of a switch and some strategically placed lights, you can add beauty, drama, and allure to the outside of your home. If exterior...Elevate Your Outdoor Living Experience This Fall
The calendar has flipped to autumn, and fall in the Midwest is one of the best times to take advantage of sitting outside and enjoying the weather. But what can you do to your outdoor living space to give it a refreshing look and maximize your experience? Let’s look...Outdoor Design Elements Truly Creating An Outdoor Oasis
Outdoor Design Elements Truly Creating An Outdoor Oasis Are you thinking about taking your backyard patio to the next level? Are you the BBQ master and dream of an outdoor kitchen to create your ultimate outdoor grilling experience? Are you thinking ahead to crisp...Enjoy the St. Louis Summer Weather on Your New Front Porch
Enjoy the St. Louis Summer Weather on Your New Front Porch This Ladue, Missouri home was originally a century-old stable. With each passing generation, the home had grown to fit the needs of the family. For this exterior transformation, the client wanted to pay...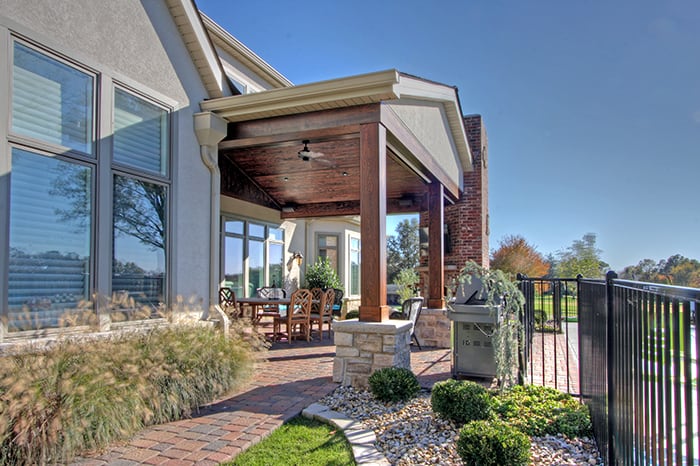
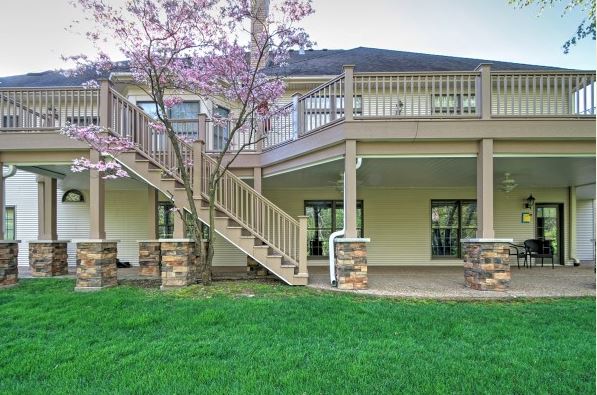
Making Shade with a Covered Patio
A new home in Ladue, MO had a nice 20’ x 20’ brick paver patio with a lovely view overlooking the pool and a lush golf course. Unfortunately, they couldn’t sit outside and enjoy the view much past 2 pm because of the sun glare from facing due west. A covered patio...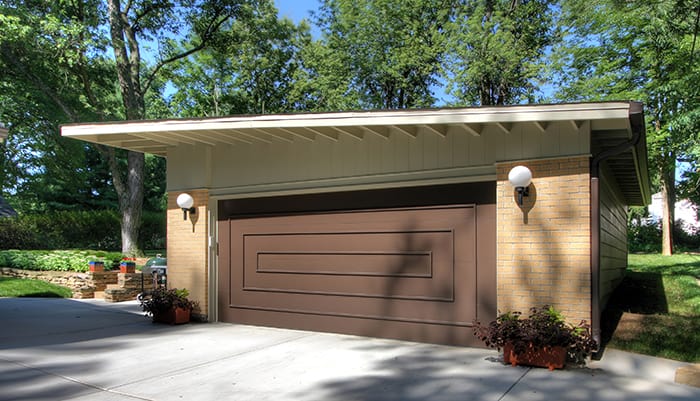
The Top 7 Remodeling Trends (so far) of 2017
Designers love to make design predictions for the coming year. But at the halfway point of 2017, we want to summarize the emerging trends we’ve seen so far this year in the homes of our St. Louis remodeling clients. Both inside and out, here are some projects trending...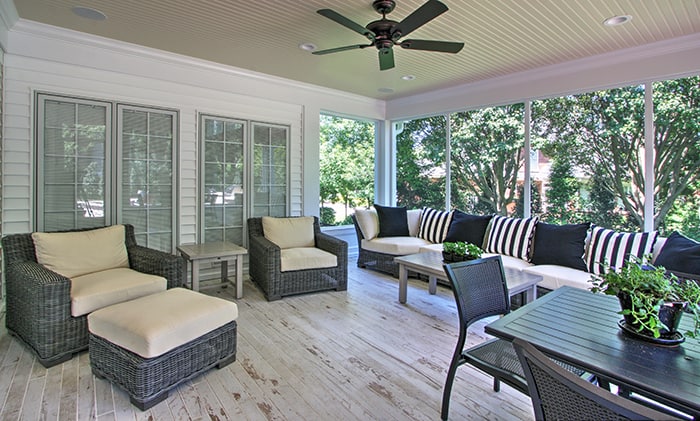
How to Create the Perfect Party Patio
By Jake Spurgeon, AKBD, CAPS, Designer for Mosby Building Arts Ahhh, warm weather! As we change our gatherings from indoors to outdoors, we long to liven up our outdoor entertaining spaces. My household loves to use our outdoor space for friends and family to relax...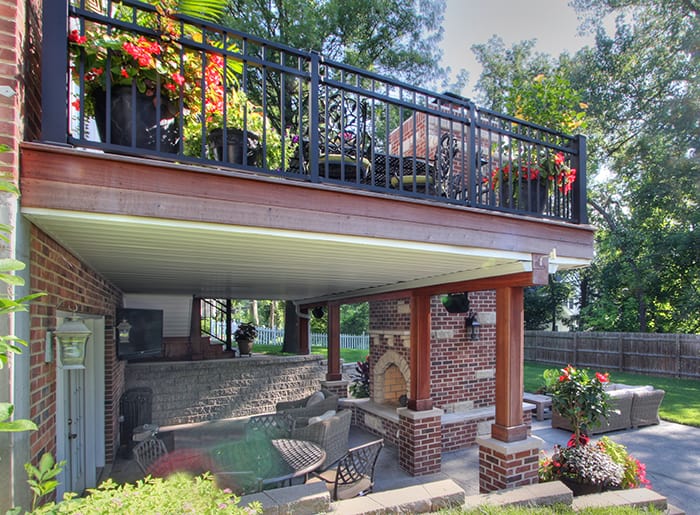
Is Your Deck Safe? 9 Things to Look For
With the outdoor living season in full swing, we’re bound to hear more stories about deck collapses. In the past 10 years, there have been more than 800 reported injuries at an average rate of 21% per year. In many cases, the failing decks were built incorrectly, not...
Before & After: Remodeling a Crestwood Ranch Home
With the kids off to college, a couple wanted to make their 1960s ranch home in Crestwood, MO more inviting, and have amenities they’d always longed for. On their list of desires: a large master bathroom; designing a new kitchen with a breakfast nook and fireplace;...